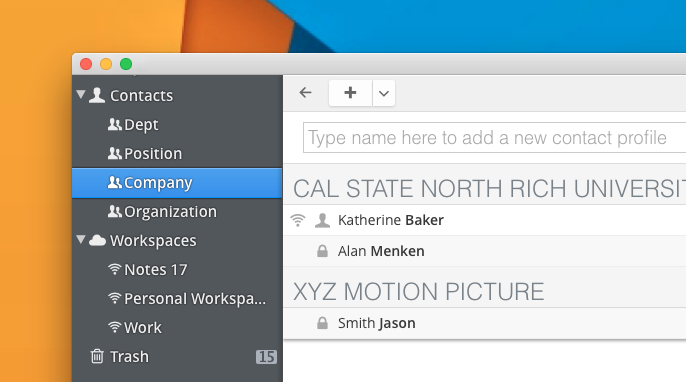
We all have lots of contacts, and it would be helpful to categorize them in groups. And you know what? Pagico can do this for you automatically.
Note: Please upgrade to the Pagico 7.2 r1816 version to take advantage of the 1-click feature below.
A simple scenario: Group by companies
Let’s say we want to group our contacts by their companies. To do so, make sure that you have a Company field defined in the contact info section for these contacts, like this:

Hit enter to save the field, then hover your mouse over this item, and click on the Auto-Group button to enable the Auto-Grouping feature on this item:

Once that’s done, you’ll be able to see the Company field showing up under the Contacts section. Switch to it, you’ll see that all your contacts who have this field defined will be grouped by their values.

Deactivating the auto-group
To undo this action (to remove the auto-group item), simply hover your curosr over the given key and click on the already-highlighted Auto-Group button to deactivate it. Alternatively, you can go to the Settings -> Database-specific settings, and make your changes under the Contacts section.
How would YOU use it?
As you can see, this feature is highly versatile and you can easily create different subgroups of your contacts based on keys used in their contact info. You can group users by the departments that they’re in, or their status of lead in your pipeline. The sky is the limit here, so give this feature a try and let us know how you use it!